How to Remove Halos in Photoshop Like a Pro
How to remove Halos in photoshop like a pro
What is a Halo?
Halos are bands of light that follow edges in an image. While normally a white glow, they can be many colours. A halo can usually be found in high-contrast areas of a photo, this maybe natural or a result of post-processing.
Why do Halos appear when editing?
Halos typically appear as bright or dark outlines around objects in an image, often occurring when making adjustments to contrast, exposure, or sharpness. These halos can detract from the overall quality of your photo, but with the right tools and techniques, they can be eliminated seamlessly.

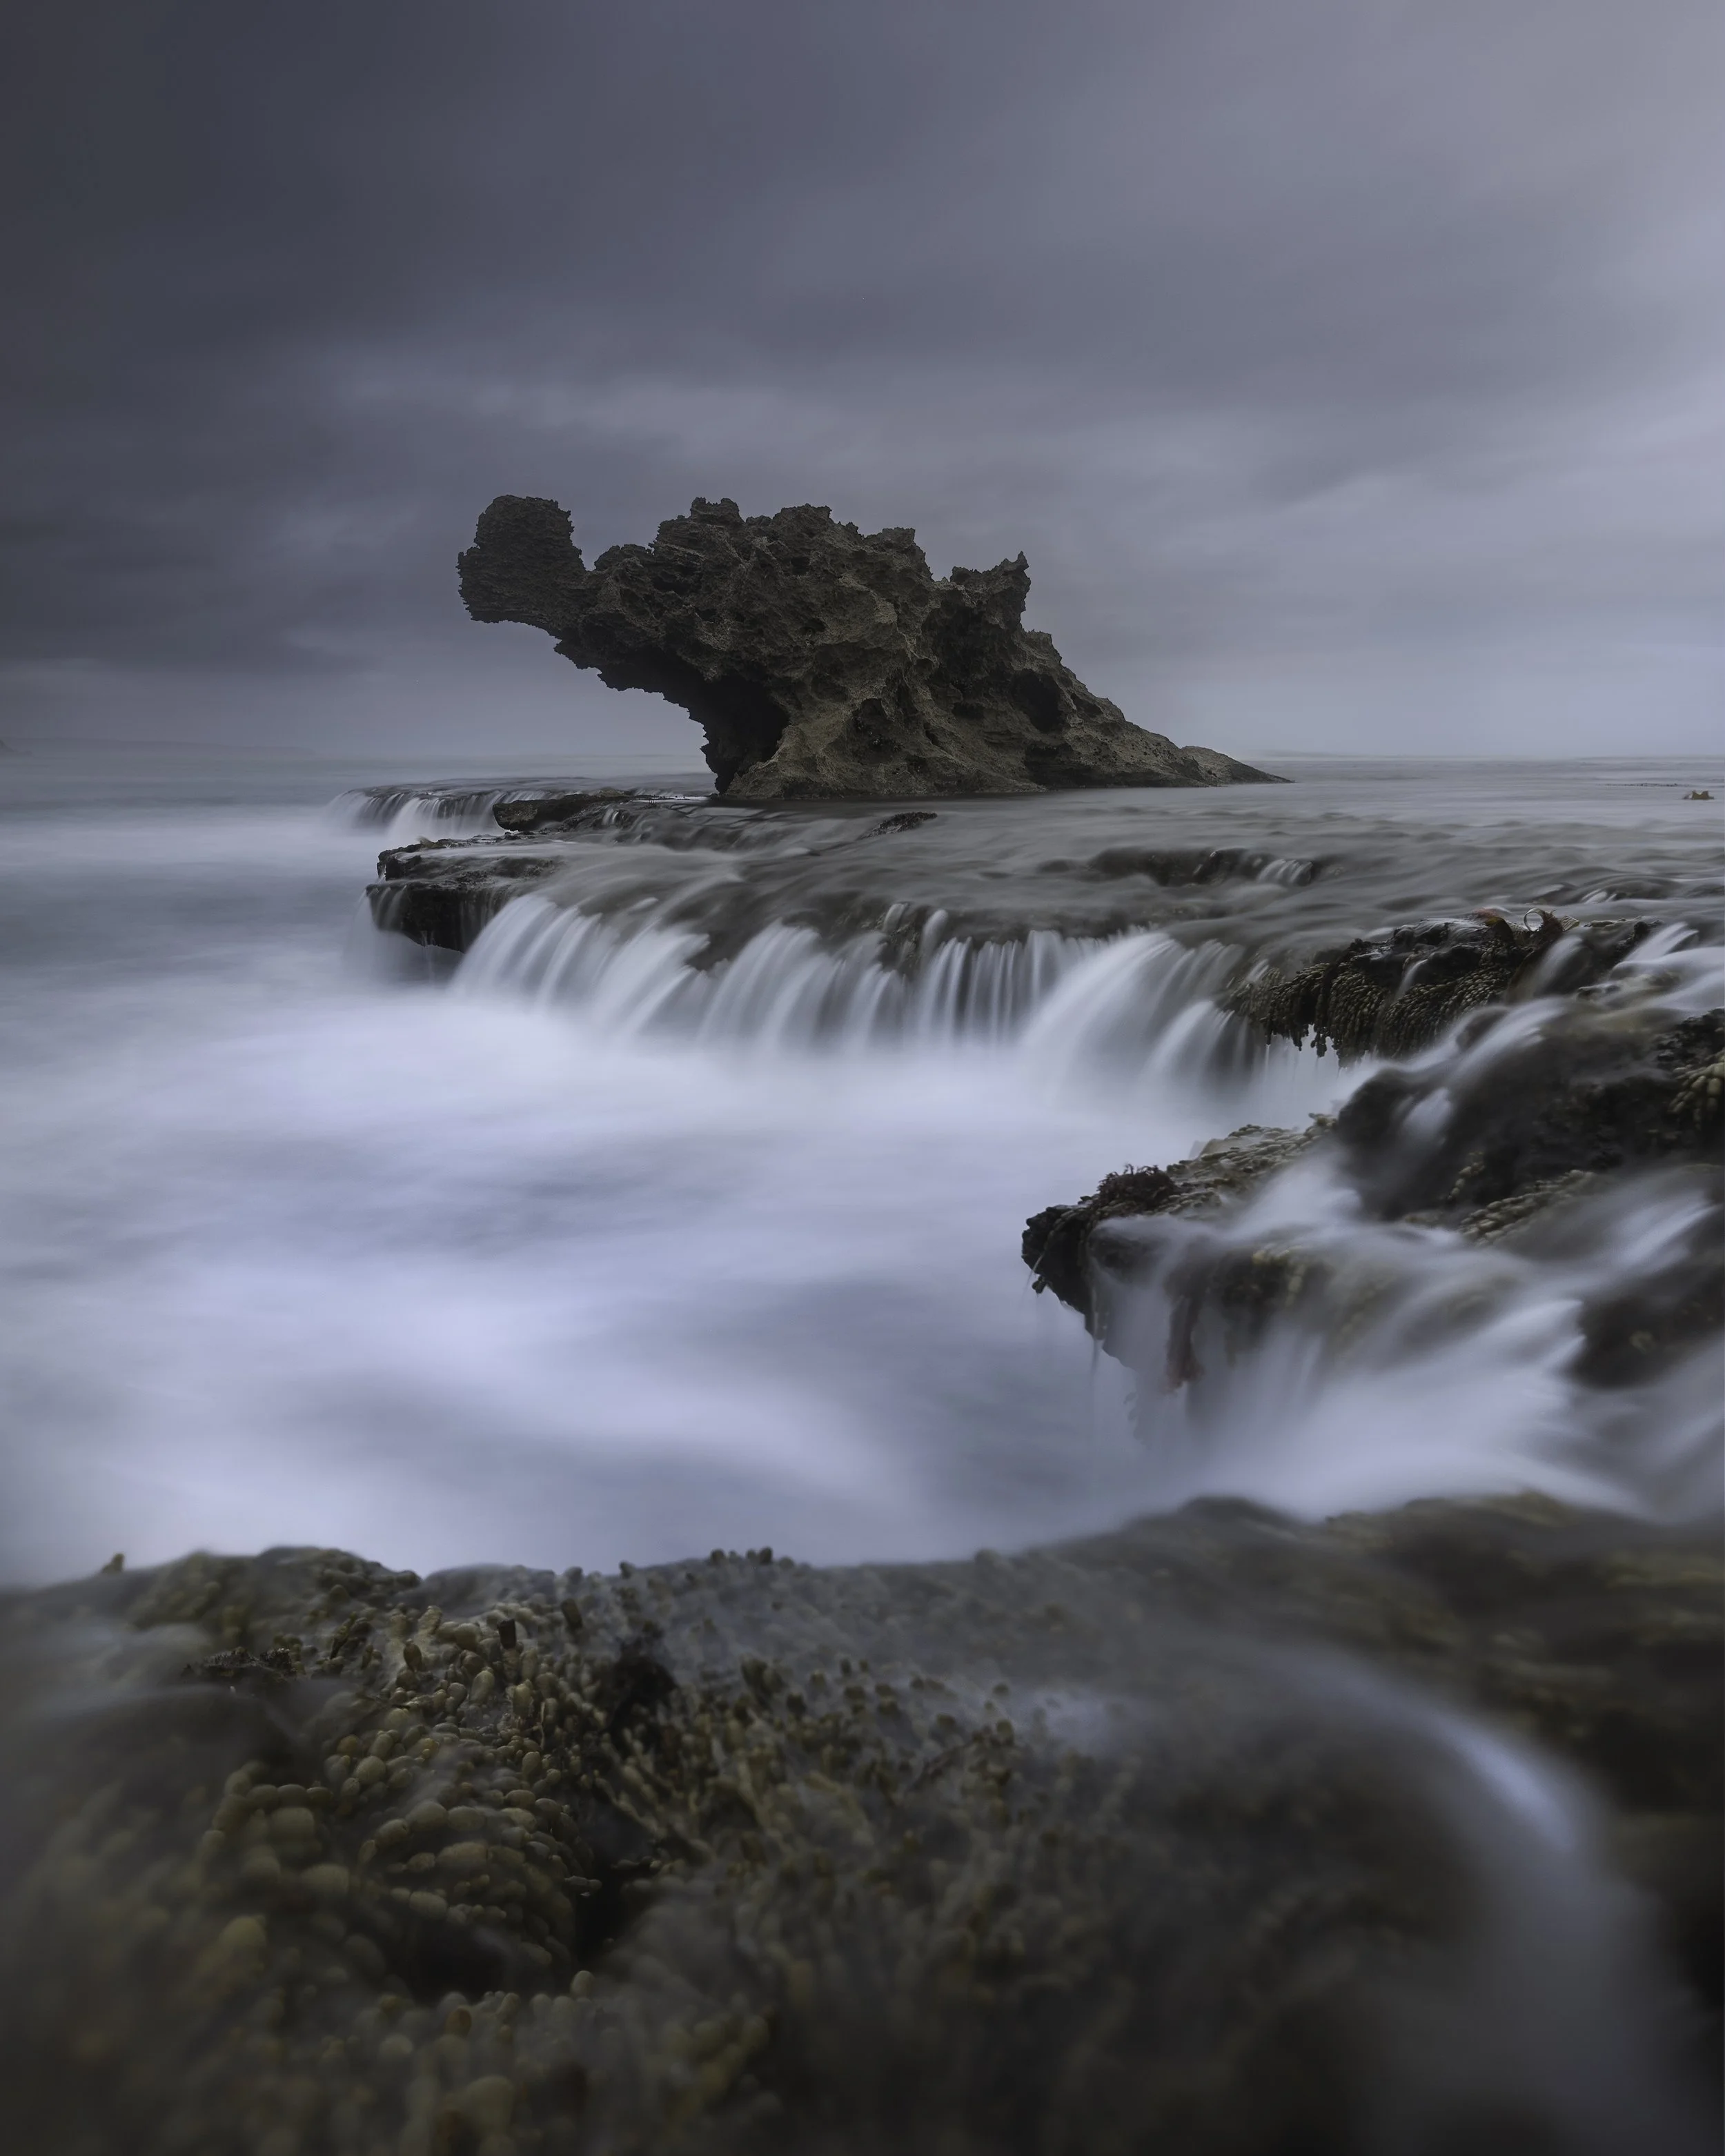
That slight glow appearing around the rock, although small lowers the quality of the image. This occurs from factors like too much contrast or sharpening.
How Do I Remove Halos from Images?
Using the Clone Stamp tool, you can easily remove the annoying white glow from a image.
Selective Editing: Begin by identifying the areas where halos are present in your image. You want to target the areas with high contrast, this is most likely the main factor for the halos, sharpening is also a form of contrast just on a smaller scale. This can also create halos.
Clone Stamp: Select the Clone Stamp tool, and change the blend mode to Darken.
Sample: Sample as close as possible to the halo, and gradually paint in using the clone stamp tool.
Keep Sampling: Keep sampling as you go, this will give you the best results possible.